Launch workflow
Dashboard Launch Workspace Tutorial
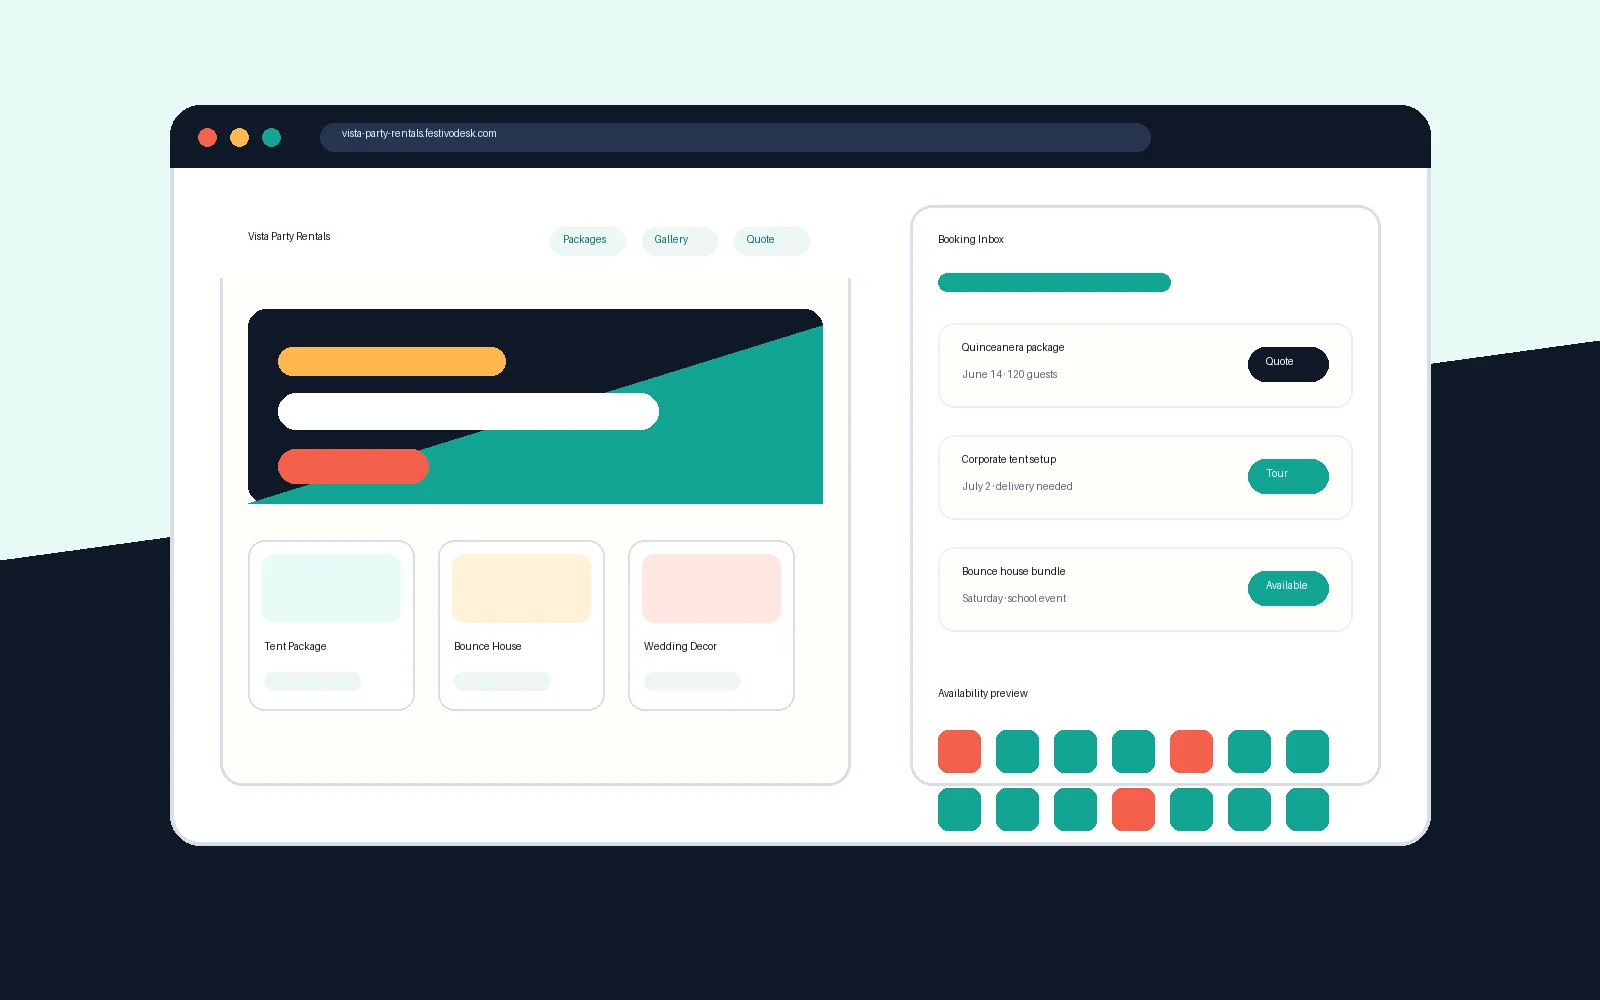
Use the dashboard launch workspace as the owner’s command center: see what is ready, what still needs attention, and what should be checked before a party rental website goes live.
What you will learn
By the end, you should know where to start, which launch items matter most, and how to use the dashboard without jumping randomly between pages.
The dashboard launch workspace is the first place a rental owner should understand after logging in. It is not meant to be a decorative overview. It is the practical map for getting from a blank account to a website customers can actually use.
Most rental businesses do not fail at launch because they forgot one big feature. They fail because the details are scattered: the business profile is half complete, the template is not previewed, the gallery has weak photos, the quote form has not been tested, and the custom domain is still waiting on DNS. The launch workspace brings those pieces into one owner-friendly view.

Step by step
Use this workflow in order
These steps are written for an owner or office team member trying to finish real work, with plain instructions and practical checkpoints.
- Start with the readiness summary Review the launch progress card first. It shows whether the core public-site items are complete enough to preview and publish with confidence.
- Open the highest-risk unfinished item If the profile, gallery, services, forms, or domain is unfinished, click that item before polishing lower-impact details.
- Preview before publishing Use Preview Website after major edits. Look at the homepage, services, gallery, catalog, forms, footer links, and mobile navigation from a customer’s point of view.
- Treat publishing as a checklist, not a button Publishing should come after content, legal links, forms, availability, and domain status are reviewed. The button is the last step, not the whole launch process.
- Return after the site is live The same workspace stays useful after launch because owners still need to keep services, photos, forms, domains, and public messaging current.
Workflow map
What to look for inside Eventodesk
Profile
Business name, service area, contact details, and identity images make the site feel real.
Template
The design direction should be chosen before polishing copy so the owner can see how content fits.
Services
Packages, event types, and rental categories tell customers what they can request.
Gallery
Real setup, catalog, and preparation photos build trust before a customer asks for pricing.
Forms
Quote, availability, contact, and event-detail paths should be tested before traffic arrives.
Domain
A custom domain and sitemap help the public site feel professional and easier to submit to Google Search Console.
Why it helps the business
Business value
- Owners get one place to understand launch progress instead of guessing what is missing.
- The workflow reduces unfinished public pages, weak form paths, and publish-before-ready mistakes.
- A cleaner launch process helps the business look more credible when a visitor compares rental companies.
Avoid these mistakes
Common problems
- Publishing after choosing a template but before adding real services and photos.
- Skipping form tests and only discovering missing fields after a real customer submits.
- Treating custom domains, legal links, and sitemap access as afterthoughts.
Start here
Ready to build the launch workflow instead of guessing?
Start with the Eventodesk dashboard, finish the public-site basics, preview the customer path, and publish only when the important launch checks are complete.
Related Eventodesk pages
Use these pages to connect the tutorial workflow to product value and conversion.
Plan the next step
Use these pages when you are deciding whether Eventodesk fits your rental business.